Showing posts with label Pinterest. Show all posts

{Pinterest} Fall Projects

I’ve thrown a few fall projects I found on Pinterest into the mix around here, including:

025 
Jack O Lantern Quesadillas

026 
Jack O Lantern Cheeseburgers 

021023
Painted oak leaves (Ava’s idea, but Pinterest worthy)

047

Marshmallow Ghosts

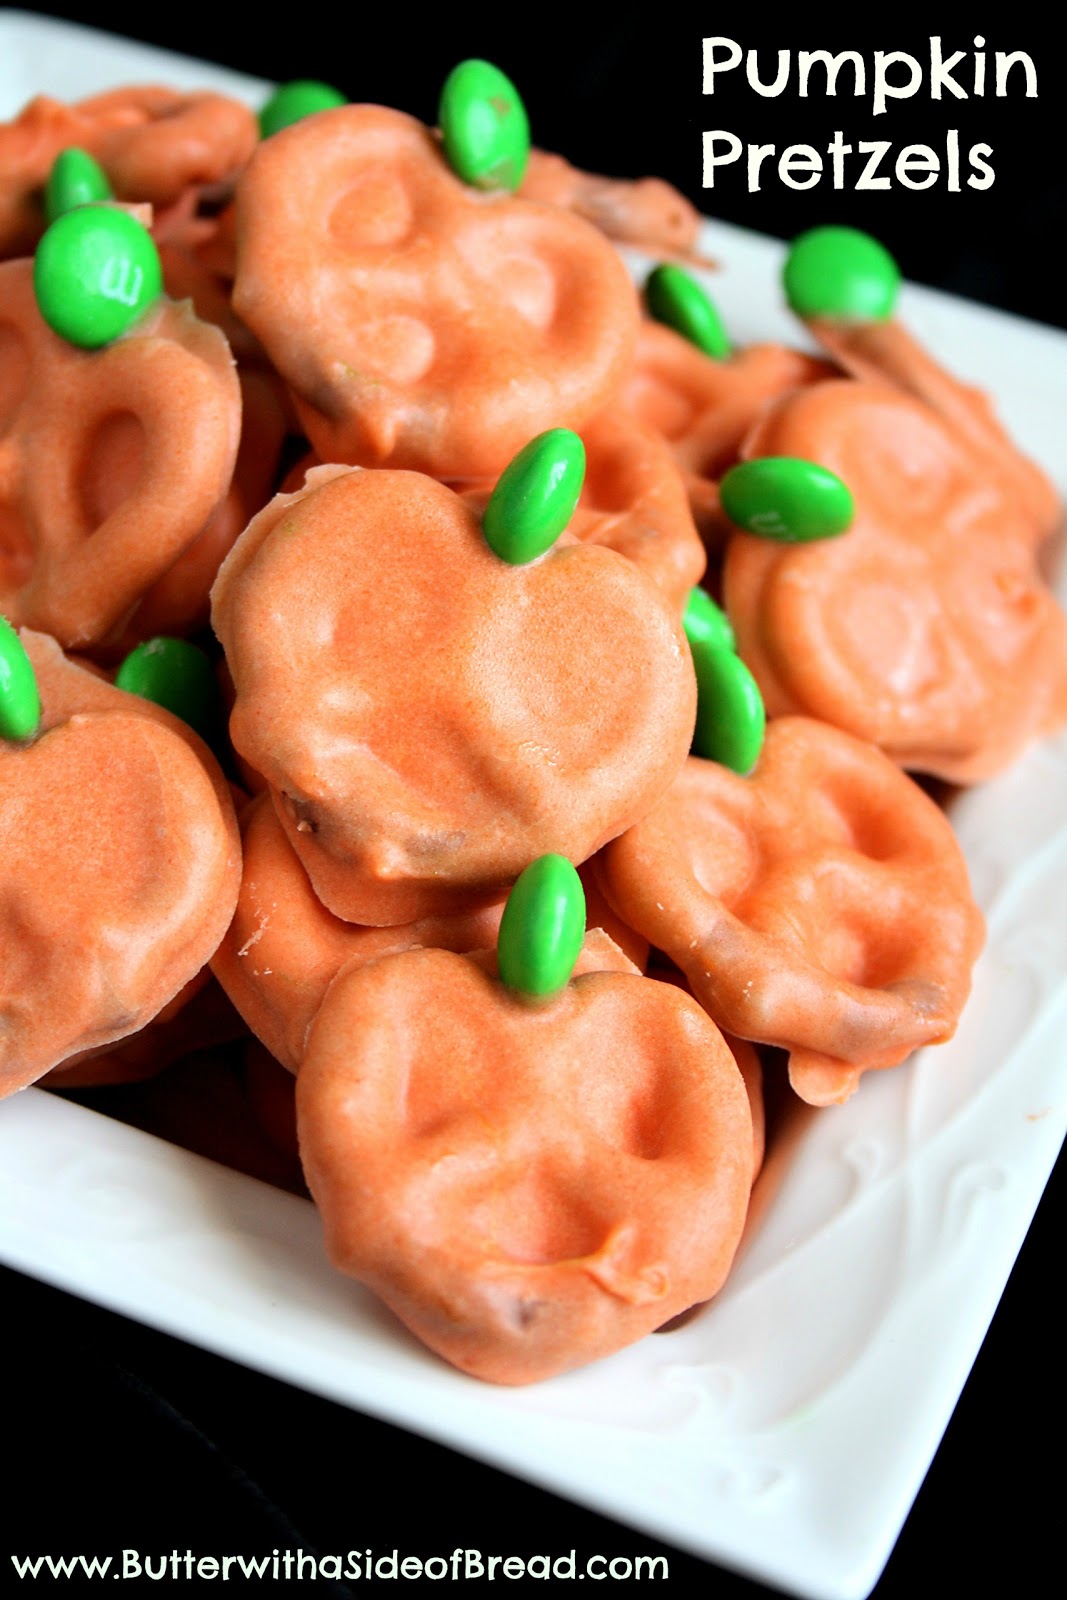
Apparently I also forgot to take a pictures, but I made pumpkin pretzels with a cute fall tag, just like these, for our Bible Study nursery workers:

 
And fall leaf cookies, like these:

leaf cookie Collage
(Our final leaf cookies did not look as nice as the original picture, just so you know.)

Dot Marker turkeys, toilet paper roll turkeys and fall reading lists were also Pinterest ideas used and appreciated.
turkey craft Collage

Monogrammed Art

I am enjoying making baby gifts lately.  OK, so it’s not very frequent, but it’s fun nonetheless.  Last year I made something special for my friend Holly and this year I had the privilege of making something for my friend Katy, who welcomed her first little one recently, Mr. Will.

Katy was swimming in hand me downs and all things boy, so I didn’t want to add to the pile (I mean, how many onesies do you really need?).  I decided to make her a little something for the nursery instead. 

I took my inspiration from a project I had pinned on Pinterest (but of course):

 
Katy had shared some pictures with me of the nursery and the darling bedding she was using:

Quilt wallhanging
Put the two together and what do you get?  Why this of course!

006-1
What do you think? 

I started off by deciding to make it a bit smaller (I made it an 8x10), just so I could be sure that I would be able to package and mail it alright.   Then I found an appropriately sized blank canvas in my stash (yes, apparently I have a stash of canvases) and used spray adhesive to attach some very light off-white linen scraps to the canvas, giving it some texture.

Next, I decided what lovely font to use for the “W” (wish I could tell you which font it was, but I don’t remember), printed it out via Word, cut out the letter and positioned it on the canvas.  Then, using a purple Disappearing Ink pen, I dotted around the letter to create the outline of the “W” exactly where I wanted it.

I gave the girls the job of sorting the buttons into colors for me (they loved that job!) and once I had my greens and blues separated I just went to work spacing the buttons out.  I laid them out on the canvas before I glued them down, but once I had a look I liked I used Aileen’s Tacky Glue to adhere the buttons.

photo

It looks like Mr. Will likes it! (Isn’t he a cutie?)

I am madly in love and now must make one for Emma’s room.  Good thing the “bag-o-buttons” I picked up for the project from the scrapbooking section (with my 40% off coupon of course) also came with a large selection of pinks too.

Ava’ New Quilt

Remember when I hinted at some new projects and showed you a sneak peek of the fabrics?  It was only March, right?  Ha ha ha!

006
Well, I finished up one of them.  Finally.

Ava’s baby quilt had fallen apart. 


(Look at her back in the day, she’s little!)

There are holes so big in it that she puts her arms and legs through them, so I knew it was time to take action.  I asked her if she wanted a new baby quilt and she was really enthusiastic.  Even more so when I told her she could help me pick out the fabric.

This pattern/picture was my jumping off point:


I love the chevron pattern, and the gray and yellow color combo.  When we went to the fabric store I found a gorgeous bright yellow flannel print for the back (it was soft, Ava loved it) but in the end I just couldn’t find a gray I liked.  So we went with a light blue cotton print, which was beautiful – and, oddly enough, her last baby quilt color palette.  Go figure.

TA-DA!

001002003
Isn’t it pretty?  I doubled up on the batting to make it extra fluffy, used a walking foot to machine quilt along the chevron design, and bound it using extra backing fabric.  Ava’s one request was that it would be bigger than her – and she loves it!

014
Can you tell she loves it?

{Pinterest} Projects

PRAYER PAIL

001

I had read about this project on Passionate Homemaking and decided to use a little pail Ava had received (for something, I don’t remember what) to create it.  I had some old scrapbooking sticker letters laying around and some large popsicle sticks.  And that’s it!  I wrote things like Teachers, Grandpa, Grandma, and Church Leaders. The girls love choosing a stick at bedtime and praying for whatever is on that stick.

(When I saw how well they liked drawing a stick, I applied this method to “chore sticks” for when they need a job to do or I need something cleaned.  It is working great!)

TODDLER BED SHEET

Piper has a toddler bed in her room, which is currently not being used except as a sometime reading spot for the girls.  Eventually Emma will move up into it, but until then it’s just kind of in storage in Piper’s room.  I wanted to make it look like it belonged a bit more, so I used a tutorial on Made by Dana on how to make your own crib sheets (which is the size of a toddler bed).  Using her template, I cut up the flat sheet to the bedding set on Piper’s twin bed (we don’t use the flat sheet on her bed anyway) to create a custom fitted sheet for the toddler bed.  And now it looks awesome.  It was so easy.  I think this could be addicting….
632635(don’t judge the sparse décor, I am still getting around to it!)

POOL NOODLE BEDRAIL

Piper used to have a bedrail on her bed, which we got from Momma Kay (since I had sold mine before moving to Utah) and which tucked under her mattress.  However I had grown to dislike it because it made making the bed difficult.  It was hard to have the cover hanging down because the railing fits snug against the mattress, making it nearly impossible to have a smooth top on the bed. 

633
So I read a tip on Pinterest to slip a pool noodle underneath the fitted sheet and it is just enough of a bump that kids won’t roll over it.  I tried it and it works.  I am not sure Piper really ever had any trouble with rolling out of bed (she might have done it once) but I have noticed that when she gets up against the noodle in the night it causes her to turn over the other way, away from the noodle.  And now the bed is so much easier to make; I can simply straighten the cover out over little bump on the side that is the pool noodle and it just hangs nicely without getting caught up in a railing.
634

{Pinterest} Projects

PIANO BENCH COVER

I guess I’ll fool you and start with a project NOT inspired by Pinterest, ha ha ha!  My piano bench cover has long plagued me and I have been wanting to sew a new one for quite some time.

The cover previously on it was a dark rust orange, which worked perfectly with our living room paint in Las Vegas, but I have since grown tired of it and wanted to lighten it up.

042
This is what the bench looks like underneath the cover.  The needlepoint it beautiful, but just not my style.  I really wanted to lighten it up and for whatever reason got it in my head that I wanted to do a pleated ruffle all the way around.  I just had to find some time to do it (isn’t that always the problem?)

041
TA-DA!  Isn’t she pretty?

040
It definitely changes the feel of the room doesn’t it?

039
I used some old drop cloth / linen-like curtains that I had previously cut up for another project, so I saved myself a lot of time by using the already finished curtain edges on the bottom of the ruffle and eliminating the need for hemming. I used the existing cover as a pattern for the top; for the bottom, I just measured out the pleats how big I wanted them and then just made a really long ruffle.


CANNING JAR LABELS

I was inspired for this project by a pin originating from Etsy.  I am an Etsy frequenter (and you should be too) but in this case I took the idea and ran with it.

On our trip to Missouri I was planning on taking out some of my home canned goodies for my family and had set aside the jars.  But I wanted to go the extra step and pretty them up a bit.  And I have a small weakness for sewing on paper. 

I started by cutting apart an old brown bag from the grocery store, using a canning ring as my guide.  With black thread, I used a heftier needle on my sewing machine and sewed two straight lines to create an area to label with marker.  Then I made a heart stamp using an old wine cork (I knew I saved that for some reason!) and a red ink pad I picked up for a Valentine’s Day project (and never used).

060061062063067
I do love them, yes I do!

GROWTH RULER

Well, this project has been a long time coming, that’s for sure.  I bought the board forever ago and had even stained it (with free stain from the recycling shed at the dump no less) and bought a paint pen to complete the numbers.   And then it sat.  And sat.  And sat some more in the garage.  I finally got tired of looking at, right around the time my sister-in-law Sarianna was finishing up hers.  Nothing like  a little competition to light a fire under my butt (though I am pretty sure Sarianna didn’t view it was any sort of competition, ha ha ha!)

One afternoon I got out the board and decided today was the day.  I settled on a font I liked (although I don’ remember what it is now so I can't tell you) and measured out my lines as suggested on the website.  To get the numbers on there I used the technique where I shaded the back of the paper heavily with pencil lead, then traced the outline of the number onto the board.  The leading helps leave a slight pencil outline on the board, giving me a clear template to fill in with paint pen.

096
I love how it turned out.  I plan on keeping it in Emma’s bedroom and I hung it up on the wall with a sawtooth hanger, 6 inches above the ground as suggested (and measured on my board).  Now I just need to get some little girls measurements up there…

{Pinterest} Recipes

One thing I have learned during my time using the Pinterest website – I am a visual person.  Duh!  OK, so I already knew that, but one of my favorite boards is my Recipes board.  Just having pictures only a glance away makes trying new recipes easy-peasy.  Here’s a few news ones that I have tried – and liked – recently.

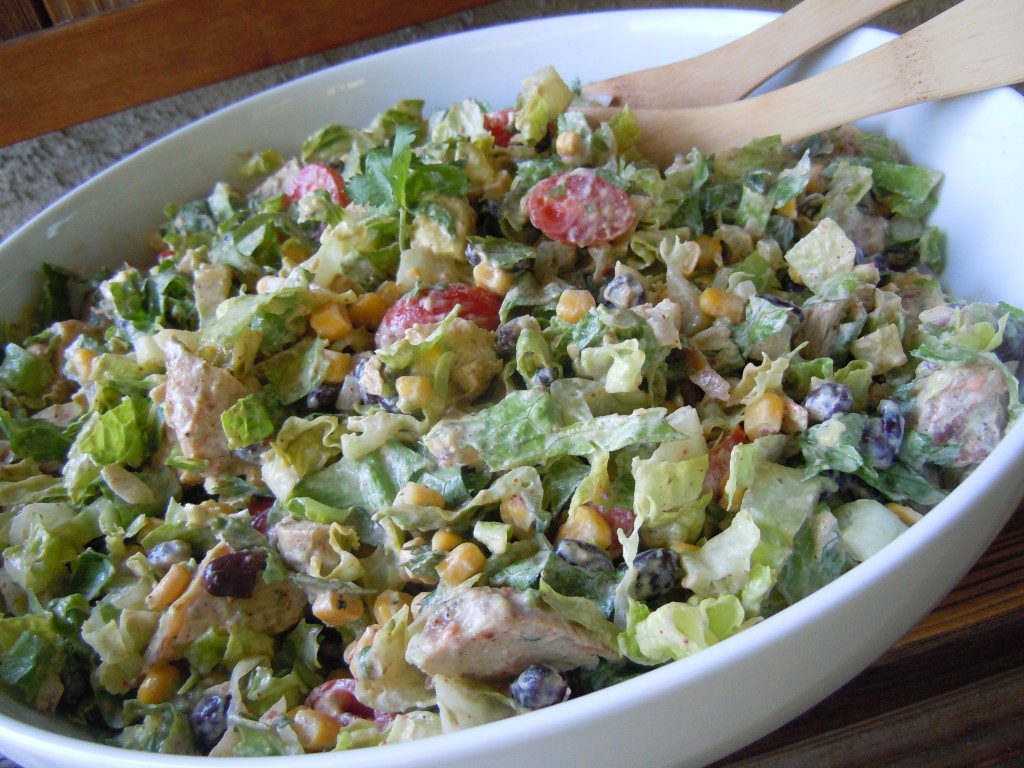
Chipotle Chicken Taco Salad


The creaminess of the dressing was uber-yummy (sour cream makes everything yummy, doesn’t it?) and I do love a good dinner salad.  (Kinda like a good sandwich for dinner.)  I used the prescribed amount of chipotle pepper (just a bit) but the dressing definitely had a kick; I wouldn’t serve it to people or kids who are spice sensitive.  I think this would be really good tossed with the Café Rio dressing too.   

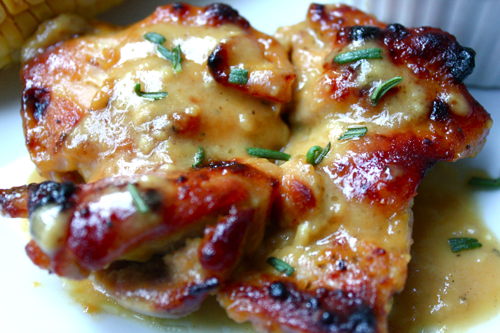
Man-Pleasing Chicken

Well, I think this pleased my man, ha ha ha!  The combination of Dijon mustard and maple syrup was fabulous (I also love rosemary), and finding another way to cook chicken pieces (which seem to be universally on sale) was awesome.  I can never have too many of those.    

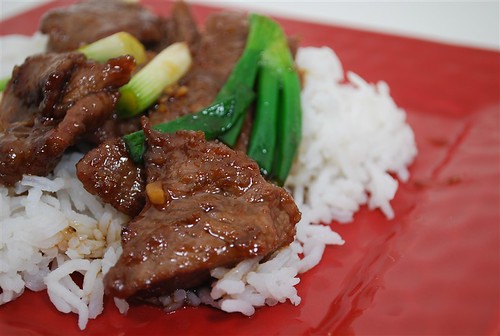
Mongolian Beef

I made this for dinner one night, accompanied by scallion pancakes and it was to die for.  Seriously, it was so tasty I licked my bowl (I really did!)  And the recipe couldn’t be easier to make.  I used a cut of beef tenderloin because that’s what I had on hand, but I think it would be good with just about any type of beef you had on hand.  Definitely a keeper!

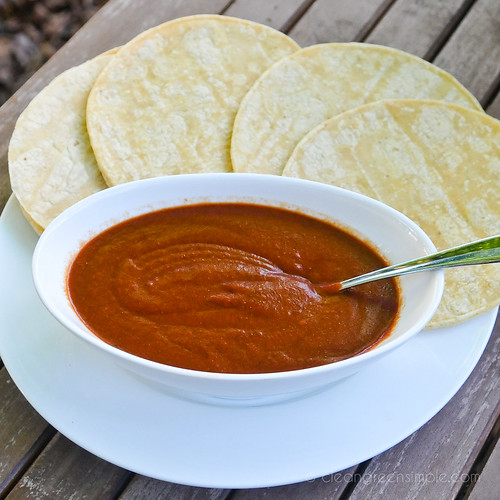
Enchilada Sauce

One night I wanted to throw some enchiladas together, but didn’t have any enchilada sauce on hand.  In this day and age of finding anything I need on the Internet, I just hopped on and started digging around.  I ended up with this recipe, which I threw together and used with stuffed tortillas that night.  It worked beautifully.  No need to buy canned enchilada sauce anymore!